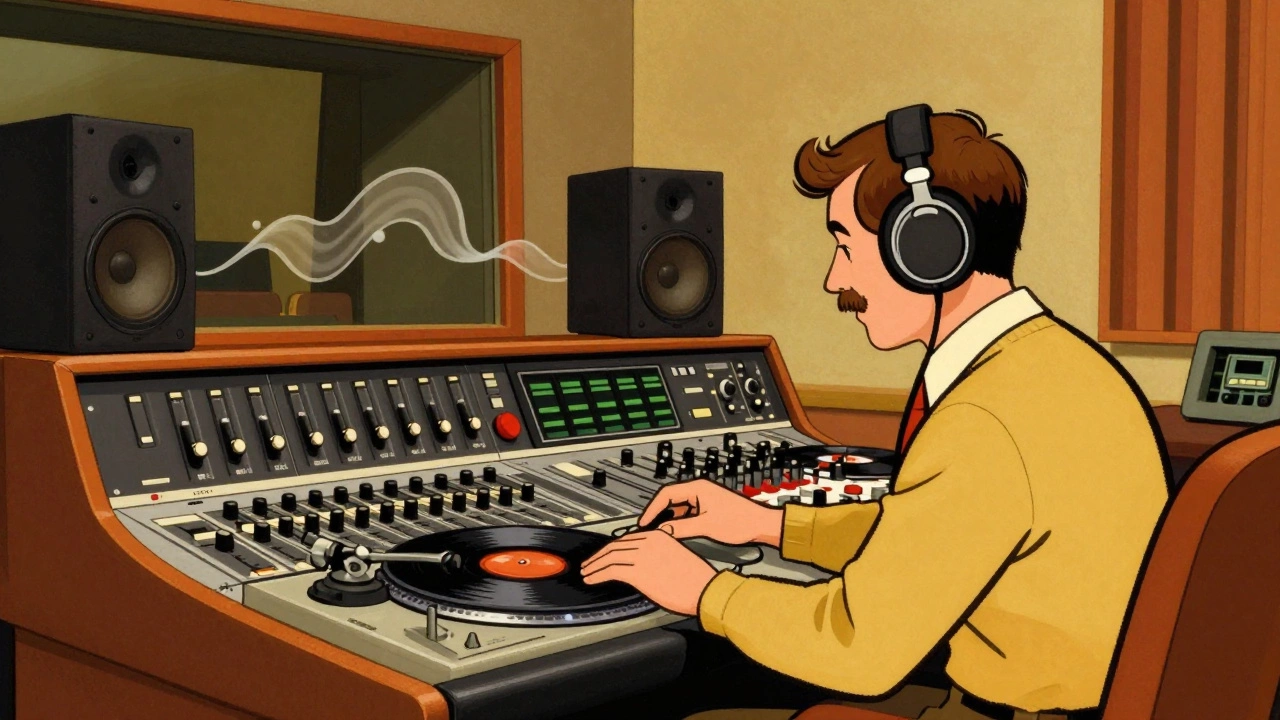

Why do classic rock records from the 1970s sound so wide, punchy, and alive, even when played on modern systems? It wasn’t just about big amps or catchy riffs. It was about how engineers placed sounds in space. Back then, every decision to pan a guitar left or right was constrained by the physical limits of vinyl grooves and analog tape. Today’s digital plugins make it easy to create impossible stereo images, but those tricks often fall apart on real speakers. The 1970s approach-built on discipline, physics, and bold choices-still offers the best blueprint for creating mixes that translate everywhere.
If you want your tracks to hit hard on car stereos, club PA systems, and high-end hi-fi setups alike, you need to understand the rules that governed stereo imaging is the perceived spatial placement of audio elements across the left-right field. in the analog era. This isn’t just nostalgia; it’s practical engineering. By adopting the panning strategies used for vinyl masters in the 1970s, you can avoid phase issues, maintain mono compatibility, and create a sense of width that feels natural rather than artificial.
The Physics of the Groove: Why Low Frequencies Must Stay Centered
To understand why 1970s engineers panned the way they did, you have to look at the medium itself. Vinyl records use a 45/45 encoding system. The groove moves laterally (side-to-side) to carry the mono sum of the signal, and vertically (up-and-down) to carry the difference between the left and right channels. Here is the problem: if you send out-of-phase low-frequency information to the sides, the stylus has to move vertically with extreme force. This causes mistracking, distortion, or worse-the needle jumps out of the groove entirely.
This physical constraint dictated a strict rule: keep the low end mono. Kick drums and bass guitars were almost always centered. This wasn’t just an aesthetic choice; it was a technical necessity. When low frequencies are centered, both speakers push air in unison, creating a solid, powerful foundation. When you spread bass wide, you risk phase cancellation, where the waves cancel each other out, leaving a weak, hollow sound. Modern mixing tutorials still emphasize this principle because human hearing struggles to localize low frequencies anyway. If you can’t hear where the bass is coming from, why waste precious stereo space spreading it out?
In a 1970s studio, this meant the kick, snare, bass, and lead vocal formed a tight, centered core. Everything else existed in relation to this anchor. By keeping the fundamental energy in the middle, engineers ensured that the mix remained stable whether it was played on a cheap mono radio or a expensive stereo turntable.
LCR Panning: The Power of Hard Decisions
One of the most distinctive characteristics of 1970s mixes is the prevalence of LCR panning is a technique using only Left, Center, and Right positions.. Unlike modern DAWs, which offer infinite pan positions, many analog consoles of the era encouraged-or even forced-engineers to choose between hard left, dead center, or hard right. This limitation bred creativity. Instead of subtly placing a guitar at 30% left, an engineer would commit to full left or full right.
This "cardinal points" approach reduces decision fatigue and creates immediate clarity. When you hard-pan elements, you give them their own distinct territory in the stereo field. There is no muddiness in the middle ground. Think of Led Zeppelin’s early records. The rhythm guitars are often slammed hard left and hard right, while the vocals and drums sit firmly in the center. This creates a massive, expansive soundstage that feels deliberate and powerful.
Adopting LCR panning in your own mixes can instantly improve translation. Start by placing your foundational elements (kick, snare, bass, lead vocal) in the center. Then, take your doubled instruments-rhythm guitars, backing vocals, keyboards-and pan them hard left or hard right. Use intermediate positions sparingly, perhaps for percussion fills or atmospheric textures that need to feel slightly off-center but not fully committed to one side. This strategy ensures that every element has room to breathe without fighting for frequency space.
Double-Tracking: Natural Width Without Phase Issues
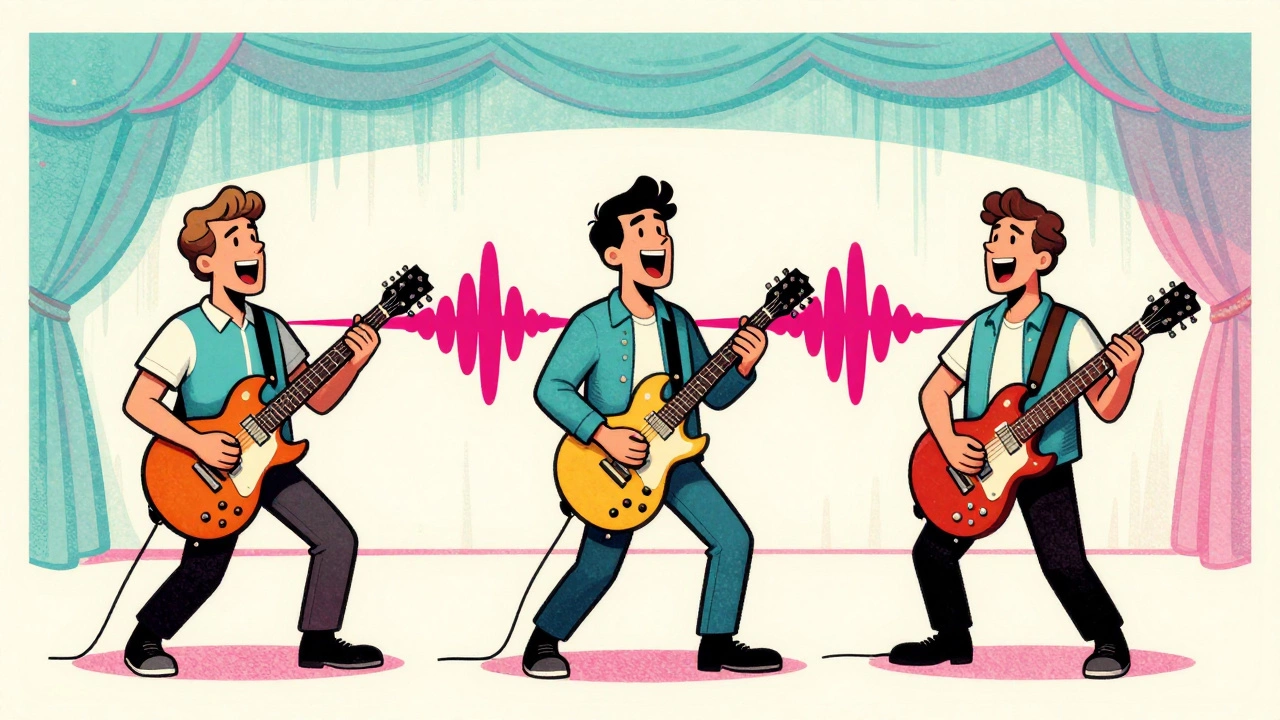
How did bands like The Beatles or Pink Floyd achieve such lush, wide sounds before digital chorus pedals? They used double-tracking. This involves recording a second, separate performance of the same part and panning the two takes opposite each other. Because each take has slight variations in timing and timbre, the result is a rich, organic stereo image that remains phase-coherent.
In the 1970s, double-tracking was essential for rhythm guitars and backing vocals. Engineers would record one take, then have the musician play it again, trying to match the first as closely as possible. The resulting pair was then panned hard left and hard right. This created a wide wall of sound that felt immersive yet stable. Unlike artificial stereo widening plugins, which can introduce phase cancellation when summed to mono, double-tracked parts retain their integrity because they are two distinct audio events.
If you are producing today, resist the urge to simply duplicate a track and shift its pitch slightly. While this can work, genuine double-tracking provides superior depth and movement. Even if you don’t have time for multiple takes, recording two different performances and comping the best sections together will yield a more dynamic and realistic stereo image than any plugin can replicate.
Opposite-Side Reverb: Creating Space Across the Field
Another hallmark of 1970s stereo imaging is the use of opposite-side reverb. Instead of sending a dry signal to a centered reverb bus, engineers would pan the dry source to one side and the reverb return to the opposite side. For example, a dry electric guitar might be panned hard left, while its plate reverb tail is panned hard right. This technique, famously used by Pink Floyd, creates a sense of vastness and asymmetry that draws the listener into the mix.
This approach works well for vinyl because reverb is diffuse and high-frequency heavy. It doesn’t contain the problematic low-frequency energy that could cause tracking issues. Moreover, because the reverb is decorrelated from the dry signal, it adds width without cluttering the center channel. When the mix is summed to mono, the reverb blends smoothly with the dry signal, maintaining intelligibility.
You can apply this trick in modern productions by routing specific instruments to dedicated reverb sends and panning those returns aggressively. Try panning a snare drum center-left and its room reverb center-right. Or place a lead vocal slightly off-center and send its delay throws to the far corners of the stereo field. This creates a three-dimensional space that feels alive and engaging.
Genre Variations: Rock vs. Soul vs. Jazz
While the technical constraints of vinyl applied to all genres, the aesthetic application of panning varied significantly. Rock and progressive rock embraced extreme LCR panning to maximize excitement and separation. Bands like Yes and Genesis used the entire stereo field to showcase complex arrangements, with synthesizers and guitars darting from left to right.
In contrast, soul and disco records often favored a narrower image. Artists like Stevie Wonder and Earth, Wind & Fire kept rhythm sections and strings within a moderate spread to ensure strong mono impact on club systems and AM radios. The focus was on punch and groove, not spaciousness. A narrow stereo image reinforces the beat, making it feel tighter and more driving.
Jazz and fusion recordings often adopted a "performer’s perspective" panning. Instruments were placed in the stereo field according to their position on stage. The drummer sat in the back center, the bassist to the left, the pianist to the right, and the soloist in the front center. This created a naturalistic, documentary-style image that allowed listeners to feel as though they were sitting in the audience. This approach respects the inherent spatial relationships of acoustic instruments, providing a coherent and realistic listening experience.
Checking Mono Compatibility: The Final Test
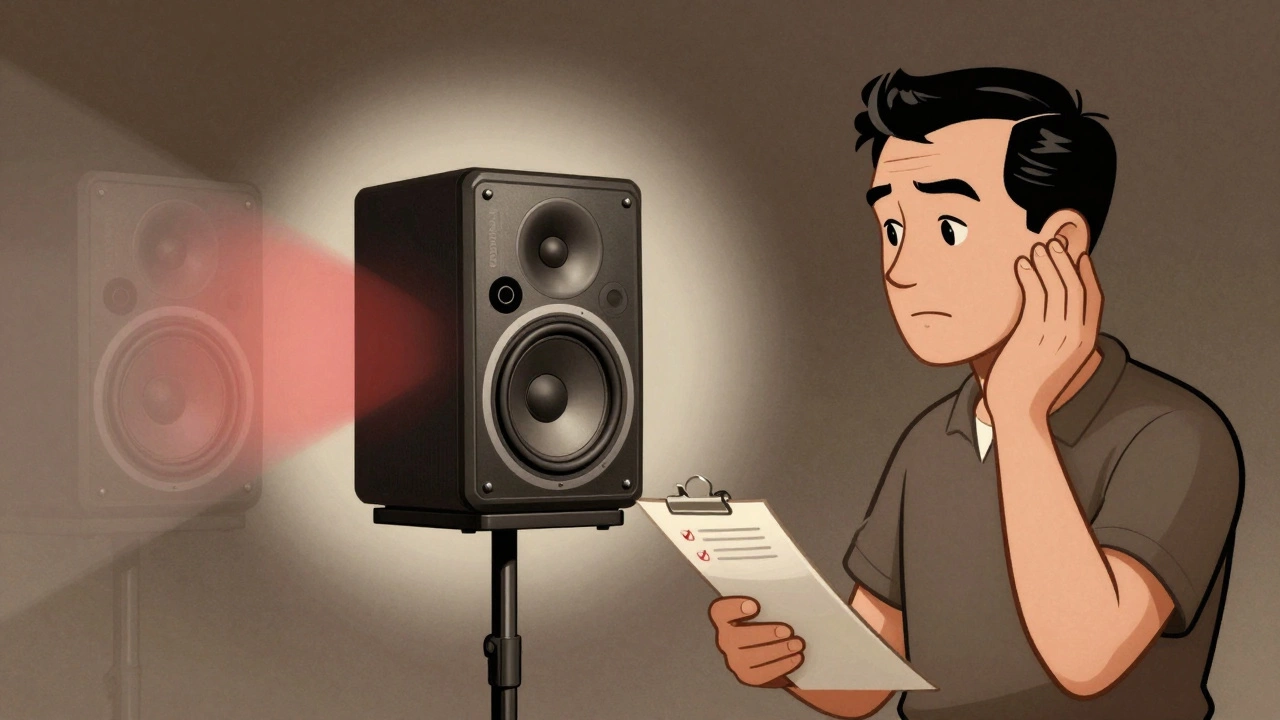
No 1970s mix was considered finished until it passed the mono test. Engineers would fold down the stereo mix to mono and listen on a single Auratone speaker or through the console’s mono output. This revealed any phase issues caused by aggressive panning or effects. If a hard-panned guitar disappeared in mono, it was either brought closer to the center or replaced with a double-tracked version that summed better.
Today, many producers neglect this step, assuming that everyone listens in stereo. However, a significant portion of music is still consumed on mono devices: smartphones, smart speakers, and Bluetooth earbuds. By checking your mix in mono, you ensure that every element remains audible and balanced. Pay special attention to the low end. If your kick and bass lose power in mono, you likely have phase cancellation issues that need to be resolved.
Use a mono button on your mixer or a simple utility plugin to collapse your stereo field. Listen critically. Are the vocals still present? Is the bass solid? Do the panned elements blend smoothly or do they vanish? Adjust your panning and EQ accordingly. A mix that translates well in mono will always sound great in stereo, but the reverse is not true.
| Strategy | Best For | Vinyl Safety | Mono Translation |
|---|---|---|---|
| LCR Panning | Rhythm Guitars, Backing Vocals | High (if lows are mono) | Good (elements may drop out) |
| Double-Tracking | Guitars, Vocals | Very High | Excellent |
| Opposite-Side Reverb | Solos, Atmospheric Textures | High | Good (blends well) |
| Wide Stereo Bass | Avoid | Low (tracking issues) | Poor (phase cancellation) |
Recreating the Sound in Modern Productions
You don’t need a vintage Neve console to achieve a 1970s-style stereo image. You just need to adopt the mindset. Start by committing to LCR panning for your main instruments. Keep the kick, snare, bass, and lead vocal centered. Pan your doubled guitars and keys hard left and right. Use double-tracking instead of artificial widening plugins. Deploy opposite-side reverbs to add depth and width. Finally, check your mix in mono to ensure everything holds up.
By respecting the physical limitations of vinyl and the psychoacoustic principles of stereo imaging, you create mixes that are not only nostalgic but also technically robust. These strategies produce a clear, powerful, and engaging sound that translates across all playback systems. In an era of endless digital possibilities, sometimes the best way forward is to look back at the disciplined techniques of the past.
What is LCR panning and why was it popular in the 1970s?
LCR panning stands for Left, Center, Right. It involves placing audio elements only in these three positions, avoiding subtle intermediate pans. It was popular in the 1970s because analog consoles often had limited pan control resolution, and it provided clear separation and a wide, impactful stereo image that translated well to vinyl and mono playback.
Why should low frequencies be kept in the center of the stereo field?
Low frequencies should be centered to prevent phase cancellation and ensure mono compatibility. On vinyl, wide low-frequency content causes vertical groove modulation, which can lead to stylus mistracking. Psychoacoustically, humans cannot easily localize low frequencies, so centering them creates a solid, powerful foundation without wasting stereo space.
How does double-tracking improve stereo imaging compared to plugins?
Double-tracking involves recording two separate performances of the same part and panning them opposite each other. This creates natural width and variation in timing and timbre, resulting in a rich, organic sound. Unlike artificial widening plugins, double-tracked parts remain phase-coherent and translate well to mono, avoiding the thinning or cancellation issues common with digital effects.
What is opposite-side reverb and how is it used?
Opposite-side reverb is a technique where a dry signal is panned to one side and its reverb return is panned to the opposite side. This creates a wide, enveloping sense of space. It was commonly used in the 1970s to add width to solos and textures without cluttering the center channel or causing vinyl tracking issues, as reverb is typically high-frequency and diffuse.
Why is checking mono compatibility important for modern mixes?
Checking mono compatibility ensures that your mix translates well on devices that play in mono, such as smartphones, smart speakers, and AM radio. It reveals phase issues caused by aggressive panning or effects, allowing you to adjust levels and EQ to maintain clarity and balance. A mix that sounds good in mono will always sound good in stereo, but the reverse is not true.


