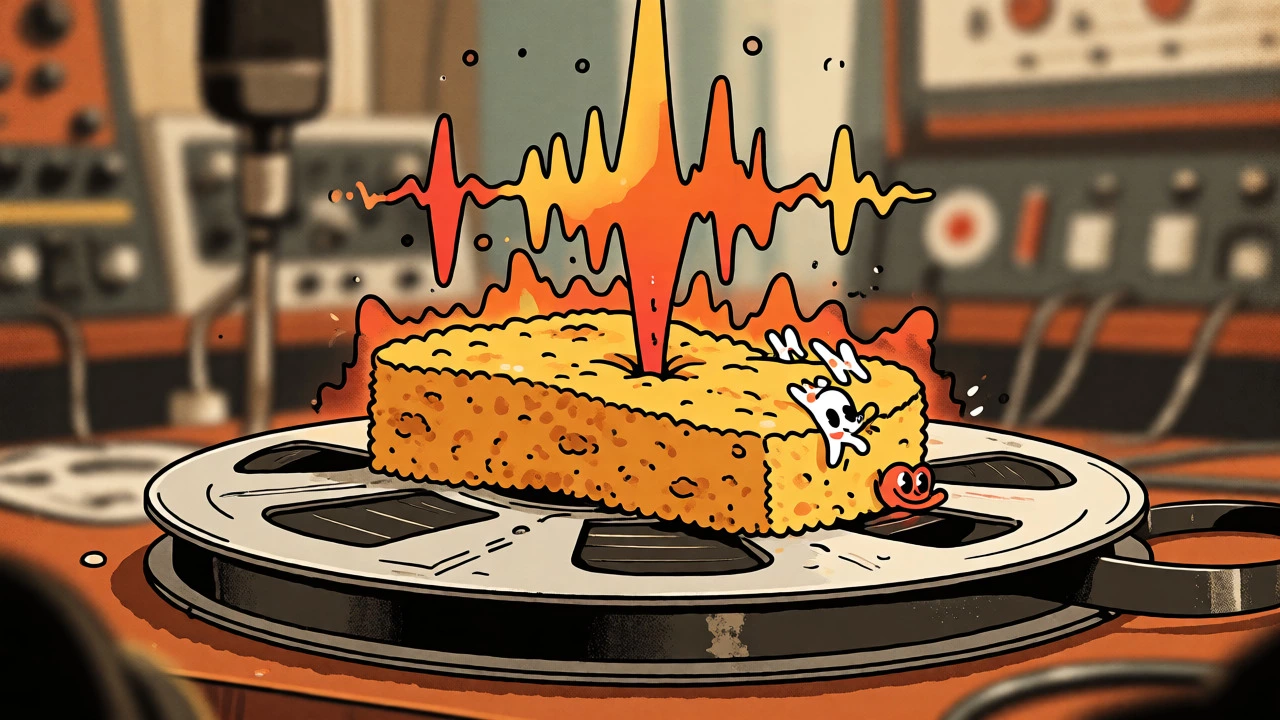

You’ve probably heard producers say they want their mix to sound "warm" or "glued together." But when you open a tape emulation plugin, you’re often met with confusing controls like "bias," "flux," and "calibration." It’s easy to get lost in the jargon. The truth is simpler than it looks: tape saturation is just a way of pushing a signal hard enough that the medium itself starts to change the sound. It’s not about volume; it’s about texture.
Think of magnetic tape like a sponge. If you pour water (audio signal) slowly, the sponge absorbs it cleanly. Pour too fast, and the sponge can’t hold it all-the excess spills over, changing how the liquid flows. In audio terms, this "spilling" creates harmonics, rounds off sharp transients, and compresses peaks naturally. This article breaks down exactly how much drive you need to get subtle warmth versus gritty character, without turning your mix into mud.
The Physics Behind the Warmth
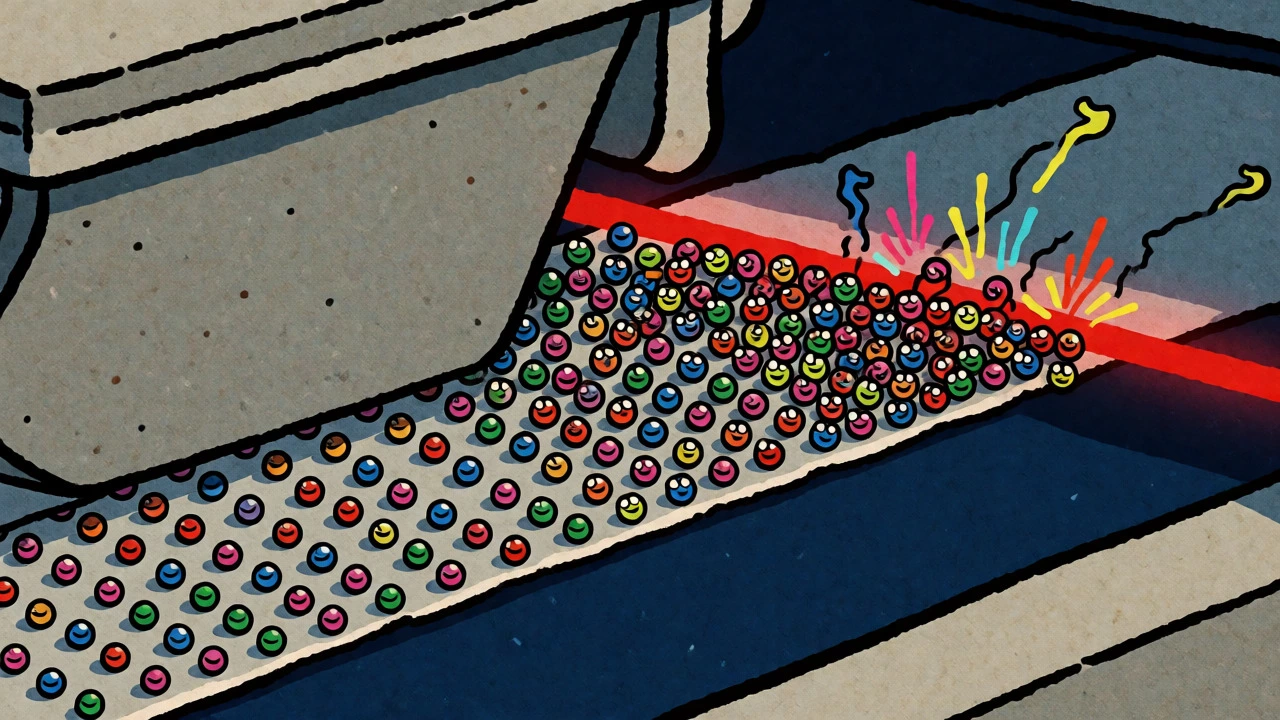
To understand why tape sounds the way it does, you have to look at what happens inside the machine. Magnetic tape isn't a linear device. It has a property called hysteresis, which means the tape particles "remember" their previous magnetic state. When you record a signal, the magnetic field aligns these particles. At low levels, this alignment is fairly predictable. But as you increase the input level, the particles approach their maximum magnetization limit. They can’t get any more aligned. This physical limitation causes the waveform to distort slightly, creating even and odd harmonics.
This process is frequency-dependent. High frequencies generally saturate faster than low frequencies because shorter wavelengths are harder to record accurately on moving tape. This is why driving tape too hard can make cymbals sound "papery" or dull before the bass gets muddy. Understanding this helps you decide where to place tape emulators in your signal chain. You might drive a drum bus harder to tame harsh highs, while keeping a vocal track cleaner to preserve intelligibility.
Calibration: Why Your Numbers Might Be Wrong
One of the biggest pitfalls in using tape plugins is assuming that "-18 dBFS" means the same thing across every software. It doesn’t. In the analog world, calibration refers to the reference fluxivity measured in nanowebers per meter (nWb/m). Common standards include 180, 250, or 355 nWb/m. A higher reference fluxivity allows for a hotter operating level before reaching a specific distortion threshold.
In digital audio workstations (DAWs), we usually map analog VU meters to digital levels. The most common convention is 0 VU = -18 dBFS, but some plugins use -12 dBFS or -20 dBFS as their nominal zero point. If you don’t know your plugin’s internal calibration, your "drive" settings will be inconsistent. For example, Universal Audio’s Studer A800 plugin uses a +6 dB calibration setting with 456 tape formulation, where the reference level is 10 dB below the point of 3% total harmonic distortion. That’s a specific technical benchmark, not a universal rule.
| Standard | Nominal Level (Digital) | Typical Reference Fluxivity | Best Use Case |
|---|---|---|---|
| EBU / SMPTE Hybrid | -18 dBFS | 250-355 nWb/m | General mixing, balanced headroom |
| SMPTE | -20 dBFS | 180-250 nWb/m | Broadcast, conservative dynamics |
| High Headroom | -12 dBFS | 355+ nWb/m | Modern pop, maximizing clean gain |
Always check the manual of your specific plugin. If it doesn’t specify, test it with a pink noise generator. Adjust the input until the output matches the input level (unity gain) while observing the saturation indicator. This establishes your true "zero" point. From there, any positive input value represents actual drive.
Finding the Sweet Spot: Drive Levels Explained
So, how much drive do you actually need? There is no single correct number, but there are reliable starting points based on the desired effect. The key is to always loudness-match your processed and bypassed signals. Human ears trick us into thinking louder equals better, so if your saturated track is 2 dB louder than the dry version, you’ll likely prefer it regardless of tone.
- Subtle Warmth (1-3 dB Drive): Use this on mix buses or delicate acoustic instruments. The goal here is transparency. You shouldn’t hear obvious distortion, but the track should feel denser and less sterile. Transients become slightly rounded, reducing listener fatigue.
- Audible Glue (3-6 dB Drive): Ideal for drum subgroups, bass guitars, and electric guitars. Here, you start hearing the harmonic content. Peaks are compressed naturally, helping elements sit together in the mix. Sibilance on vocals may soften, which can be desirable or problematic depending on the performance.
- Grit and Character (6-12+ dB Drive): Reserved for creative effects, lo-fi aesthetics, or aggressive rock genres. Cymbals lose shimmer, bass loses definition, and the overall image narrows. This is where tape becomes an instrument rather than just a processor.
Remember that different sources react differently. Kick drums often handle high drive well because their transient energy benefits from rounding. Vocals, however, can quickly lose clarity if driven too hard, especially in the upper-midrange where consonants live. Start low and adjust by ear, not by eye.
Tape Speed and Formulation Matter
Not all tape is created equal. The speed at which tape moves past the head (measured in inches per second, ips) dramatically affects the sound. Professional machines typically run at 15 or 30 ips. Slower speeds, like 7.5 ips, produce more pronounced low-frequency resonance (known as "head bump") and earlier high-frequency roll-off. This makes slower tape sound thicker and darker, which is great for vintage vibes but risky for complex mixes.
Tape formulation also plays a role. Older formulations like Ampex 456 or GP9 have distinct saturation curves compared to modern stocks. Some plugins allow you to switch between these types. If you want a tight, punchy sound, try a higher-speed simulation with a modern formulation. For a loose, nostalgic feel, drop the speed and choose an older stock. Don’t ignore bias controls either. Increasing bias reduces distortion but lowers high-frequency response, effectively acting as a tonal EQ alongside the saturation.

Placement in the Signal Chain
Where you put the tape emulator changes its impact. Placing it before compression allows the tape to reshape peaks first, giving the compressor a smoother signal to work with. This often results in gentler compression ratios and a more natural dynamic range. Conversely, placing tape after compression adds final polish and density, gluing the compressed elements together. Many engineers, including mixer Darrell Thorp, prefer running tape after their mix-bus compressor to add weight without affecting the initial dynamic control.
Parallel processing is another powerful technique. Instead of replacing the dry signal with saturated tape, blend a heavily driven tape return underneath the clean original. This lets you keep transient attack while adding harmonic richness. Try setting up a send with extreme drive (10+ dB), then blending it back at 10-20% wet. You get the grit without losing the punch.
When Tape Fails: Limitations to Watch
Tape isn’t a magic fix-all. Over-driving leads to "mud," where low-end frequencies mask each other due to excessive harmonic buildup. High-frequency loss can make mixes sound dull or lifeless, requiring careful EQ compensation. Also, remember that tape introduces noise floor issues. While plugins model hiss and wow/flutter, real tape requires maintenance and alignment. In a digital workflow, excessive stacking of tape plugins can accumulate distortion, leading to phase issues and unnatural artifacts.
If you’re looking for transparent peak control, a limiter is still superior. Tape compression is nonlinear and frequency-dependent, meaning it treats bass and treble differently. A limiter applies uniform reduction across the spectrum. Use tape for color and glue; use limiters for safety and loudness.
What is the ideal input level for tape saturation?
There is no universal ideal, but a good starting point is to set your nominal operating level around -18 dBFS (if following EBU conventions) or whatever the plugin defines as 0 VU. From there, add 1-3 dB for subtle warmth and 3-6 dB for audible glue. Always loudness-match to compare fairly.
Does tape speed affect saturation?
Yes. Lower tape speeds (e.g., 7.5 ips) cause high frequencies to saturate sooner and create a stronger low-frequency head bump. Higher speeds (15 or 30 ips) provide wider frequency response and tighter transient reproduction, delaying the onset of noticeable saturation.
Can I stack multiple tape plugins?
You can, but be cautious. Each stage adds distortion and noise. Stacking two lightly driven tapes is often better than one heavily driven tape, as it distributes the nonlinearity. However, too many stages can lead to cumulative phase shifts and muddiness.
Why does my vocal sound dull after tape saturation?
Vocals contain sibilance and high-frequency detail that tape tends to soften. If the vocal sounds dull, reduce the drive amount, increase the bias setting (which preserves highs), or use a parallel processing approach to retain transient clarity.
Is tape saturation the same as clipping?
No. Clipping is a hard digital ceiling that cuts off waveforms abruptly, causing harsh odd-harmonic distortion. Tape saturation is progressive and frequency-dependent, producing a mix of even and odd harmonics that sounds musically pleasing and smooth.