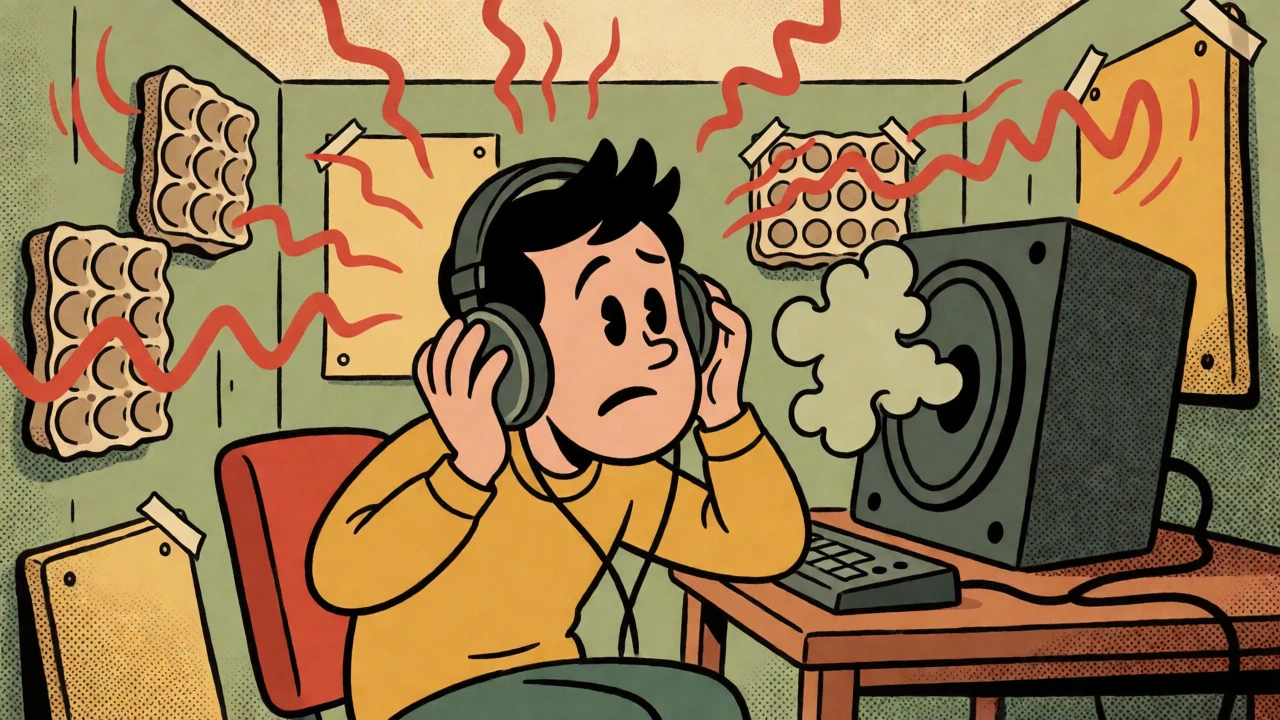

You spent thousands on a high-end interface, maybe even a pair of monitors that cost more than your first car. But when you hit record, the vocals sound muddy, the kick drum booms uncontrollably, and your mix sounds nothing like it does in the car or on your phone. The culprit isn’t your gear. It’s the room.
Here is the hard truth: studio acoustics is the science and art of shaping how sound behaves within a physical space to ensure accurate monitoring and clean recording. No amount of digital plugin magic can fix a room that fundamentally lies to your ears. Whether you are building a professional facility in Portland or converting a spare bedroom into a project studio, understanding the physical space is non-negotiable. If you get the room wrong, you are essentially mixing in a hall of mirrors where every reflection distorts the image.
Why Your Room Dictates Your Mix
Think of your control room as an instrument. If the instrument is out of tune, you cannot play a perfect song. In audio production, the room acts as a filter. When sound leaves your speakers, it doesn’t just travel straight to your ears; it bounces off walls, floors, and ceilings. These reflections arrive at your listening position milliseconds after the direct sound. If those reflections are too strong or delayed incorrectly, they interfere with the direct signal, causing peaks and nulls in the frequency response.
This interference creates what engineers call "room modes." In small rooms, low-frequency waves are long enough to bounce back and forth between parallel walls, creating standing waves. Some frequencies boost (peaks), making your bass sound huge, while others cancel out (nulls), making them disappear entirely. This is why you might hear a booming 80Hz note in one spot but barely hear it if you move two feet to the left. Professional control room design aims for a flat frequency response, meaning no coloration from the room itself. Without this neutrality, you end up cutting bass in your mix because the room is boosting it, only to find your track sounds thin everywhere else.
The Anatomy of a Professional Studio Layout
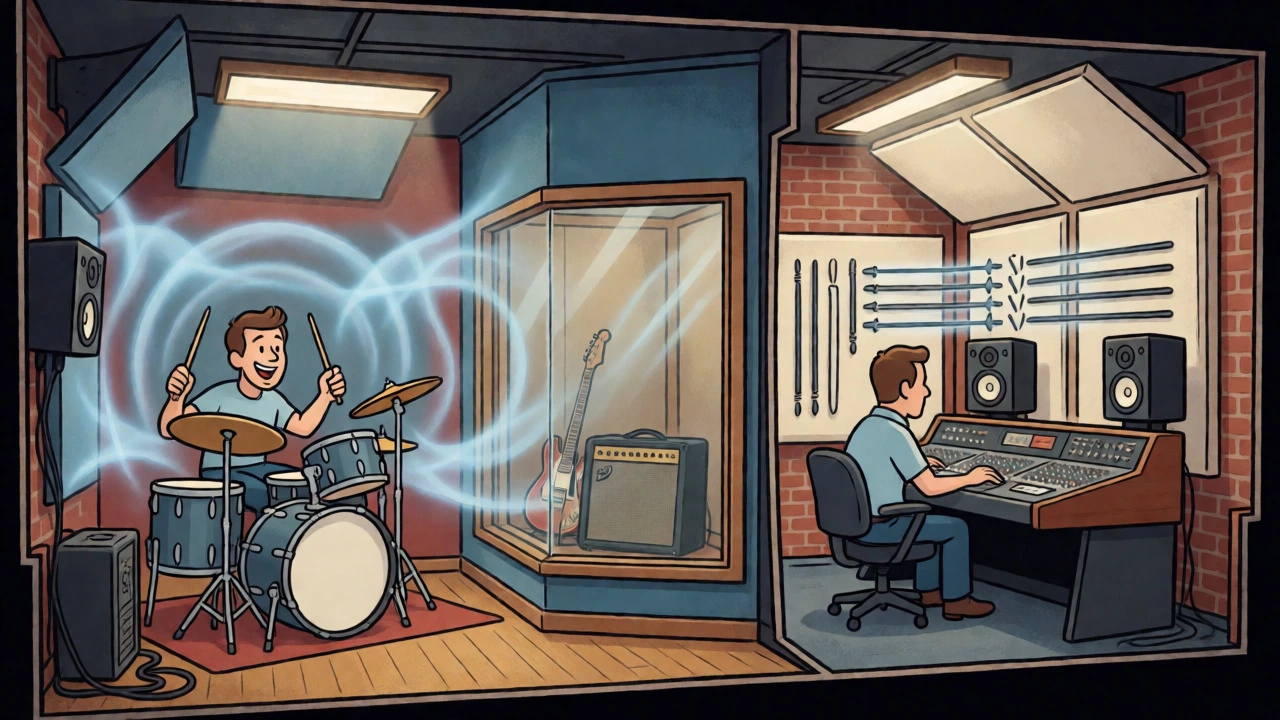
A standard professional studio isn’t just one big empty box. It is a carefully segmented environment designed to isolate different acoustic needs. Understanding these zones helps you prioritize where to spend your money and effort.
| Zone | Primary Function | Acoustic Priority |
|---|---|---|
| Control Room | Mixing and monitoring decisions | Neutrality, accurate imaging, controlled reverb |
| Tracking Room | Recording instruments and vocals | Isolation, inspiring ambience, bleed control |
| Isolation Booth | Separating loud sources (amps, drums) | High isolation (STC > 55), dry sound |
| Machine Room | Housing computers and noisy gear | Noise reduction, ventilation without noise |
The tracking room is often the largest space, designed to capture the natural sound of instruments. It needs to be lively enough to inspire musicians but not so reverberant that it muddies the recordings. Conversely, the control room must be tight and precise. Engineers need to hear exactly what is happening in the mix, which requires aggressive treatment to eliminate early reflections. Then there is the isolation booth, or "iso booth," which is critical for separating loud instruments like guitar amps or drum kits from sensitive vocal microphones. Finally, the machine room houses your computer, servers, and power supplies. Why? Because fan noise and transformer hum can creep into your quietest recordings if the machine room isn't properly isolated.
Sound Isolation vs. Sound Treatment: Know the Difference
One of the most common mistakes beginners make is confusing soundproofing with acoustic treatment. They are completely different beasts.
Sound isolation (or soundproofing) is about keeping sound in and out. It involves mass, decoupling, and sealing air gaps. You use heavy materials like drywall, mass-loaded vinyl (MLV), and resilient channels to stop sound waves from passing through walls. The metric here is Sound Transmission Class (STC). A typical home studio might aim for STC 50-55, while professional facilities target STC 60+ to keep city traffic or neighbors’ parties from ruining your takes.
Acoustic treatment, on the other hand, happens inside the room. It manages how sound behaves once it is already inside. This uses absorption and diffusion to control reflections and reverberation time (RT60). You don’t need a brick wall to absorb a high-hat splash; you need a foam panel or mineral wool trap. However, you do need massive structural changes to stop a subwoofer’s bass from shaking the walls.
If you live in an apartment, you likely care more about isolation (so your neighbors don’t call the cops). If you are in a detached garage, you might prioritize internal treatment to improve your mixes. Both are essential, but they solve different problems.
Mastering Room Geometry and Listening Position
Before you buy a single panel, look at your room’s dimensions. Small rooms are dominated by axial modes-standing waves that form between parallel surfaces. Cubic rooms (where length = width = height) are notorious for stacking these modes at the same frequency, creating severe boominess. Ideally, you want non-integer ratios between length, width, and height to spread these problematic frequencies out.
Once you have the room, placement is everything. Where you sit matters as much as what you listen to. A widely accepted rule of thumb for small control rooms is placing the listening position at 38% of the room’s length from the front wall. This spot tends to minimize the impact of the strongest axial modes. Symmetry is also key. Center your desk between the side walls. If your left wall is concrete and your right wall is drywall, your stereo image will skew to the right.
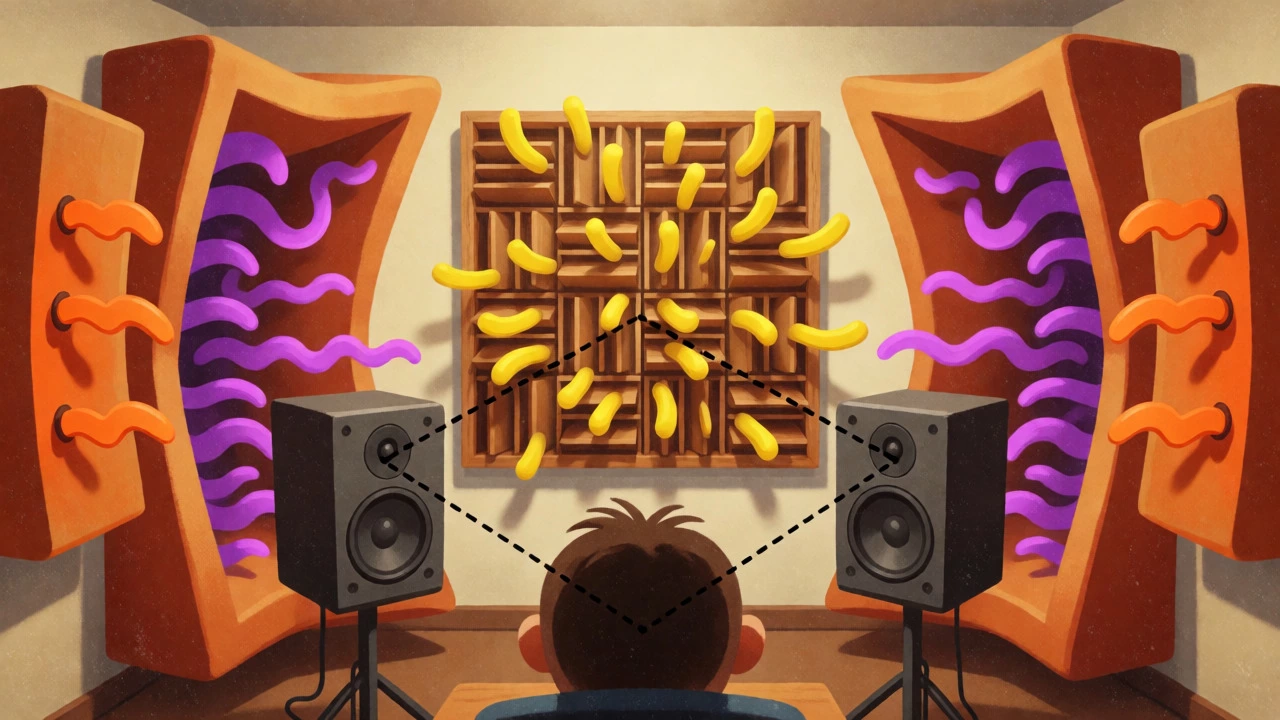
- Speaker Placement: Form an equilateral triangle between your left speaker, right speaker, and your head. Each side should be the same distance.
- Tweeter Height: Align tweeters with your ear level. Too high or too low changes the phase response and imaging.
- Toe-In: Angle the speakers inward toward your head, typically around 30 degrees, to focus the midrange energy.
- Rear Wall Distance: Ensure at least 2 meters (approx. 6.5 feet) behind your listening position to allow rear-wall treatments to work effectively as late reflections rather than early echoes.
The Holy Trinity: Bass Traps, Absorption, and Diffusion
Now that the geometry is set, let’s talk about treatment. There are three main tools in your acoustic arsenal, and order matters. Most people start with thin foam panels on their side walls. That’s a mistake. Start with the low end.
1. Bass Traps: The Unsung Heroes
Low frequencies are long and energetic. Thin foam does almost nothing below 125 Hz. You need density and depth. Bass traps are thick absorbers, often placed floor-to-ceiling in corners, where bass pressure builds up the most. Brands like GIK Acoustics offer panels specifically tuned for 50-60 Hz ranges. Skipping bass traps is the number one reason amateur mixes sound muddy or hollow. Place them in all four vertical corners of your room. If budget allows, add them along the ceiling-wall junctions.
2. Broadband Absorption: First Reflection Points
After taming the bass, address mid-high frequencies. Use the "mirror trick": have a friend hold a mirror against the side wall. If you can see the speaker in the mirror from your listening position, that is a first reflection point. Put a broadband absorber (like a 4-inch mineral wool panel) there. Do the same for the ceiling directly above your head. These early reflections blur stereo imaging and smear transients. By absorbing them, you create a clearer, wider soundstage.
3. Diffusion: Keeping It Alive
If you absorb everything, your room becomes "dead" and unnatural. Musicians hate tracking in dead rooms, and engineers lose spatial cues. Enter diffusion. Diffusers scatter sound waves in many directions instead of absorbing them. This maintains acoustic energy while preventing distinct echoes. QRD (Quadratic Residue Diffuser) panels are popular for rear walls behind the listener. They break up flutter echo and provide a sense of spaciousness without adding muddiness.
Design Philosophies: LEDE and RFZ
You might hear terms like LEDE and RFZ thrown around. These aren’t just buzzwords; they are specific layouts that dictate where you put your treatment.
LEDE stands for Live End, Dead End. The front of the room (around the speakers) is heavily absorbed to eliminate early reflections. The rear of the room is reflective or diffuse to preserve a sense of ambience. This prevents the "shoebox" feeling and keeps the engineer comfortable during long sessions.
RFZ (Reflection-Free Zone) takes it further. The goal is to create a zone around the listening position where no early reflections from side walls or the ceiling reach the ears. This is achieved by angling side-wall absorbers or using large clouds overhead. RFZ designs are favored for critical mastering suites where precision is paramount.
Budgeting for Acoustics: What Does It Cost?
How much should you spend? It depends on whether you are DIY-ing or hiring pros. For a serious home studio, expect to allocate 30-40% of your total build budget to acoustics. Here is a rough breakdown based on current market trends:
- DIY Corner Traps: $300-$800. Using rockwool batts and fabric frames.
- Premium Bass Traps: $1,000-$2,500. Buying pre-made units like GIK or RealTraps.
- Broadband Panels: $500-$1,500. For first reflection points and ceiling clouds.
- Diffusers: $500-$2,000. Wooden QRD arrays for the rear wall.
- Professional Build: $75,000+. Includes structural changes, floating floors, and custom windows.
Don’t skimp on bass traps. You can always add more decorative panels later, but fixing a boomy low-end after the fact is expensive and difficult.
Common Pitfalls to Avoid
Even experienced builders make mistakes. Here are the big ones:
- Over-absorption: Covering every inch of wall in foam kills all life in the room. It makes tracking vocals feel claustrophobic and can lead to over-compression in mixes.
- Ignoring the Floor: Hard floors reflect sound upward, interfering with your monitoring. A thick rug under your desk area helps, but avoid covering the entire floor if you’re tracking drums or acoustic guitars.
- Asymmetrical Setup: Placing your desk near a window or door breaks symmetry. Keep the setup centered.
- Fighting the Room: Trying to fix bad geometry with tons of gear. Sometimes moving the desk 6 inches forward solves more problems than buying $2,000 worth of diffusers.
Measuring Success: How Do You Know It Worked?
You don’t need a PhD in physics, but you do need feedback. Trust your ears, but verify with measurements. Software like Room EQ Wizard (REW) combined with a measurement microphone (like the Dayton EMM-6) lets you visualize your room’s response.
Look for:
- Flat Frequency Response: Peaks and dips should be minimized, especially in the 20Hz-200Hz range.
- Short RT60: Reverberation time should be consistent across frequencies. Ideally, decay times should be similar at 125Hz, 500Hz, and 2kHz.
- Clean Impulse Response: Early reflections should be minimal. You want a clear separation between the direct sound and the room tail.
Iterate. Measure, treat, measure again. Acoustic design is an engineering process, not a decoration exercise.
Do I need bass traps if I have a small room?
Yes, absolutely. Small rooms actually suffer more from low-frequency buildup due to room modes. Bass traps are the most critical treatment element for any room under 300 square feet. Without them, your mixes will lack translation accuracy, sounding either too boomy or too thin depending on the playback system.
What is the difference between STC and NRC?
STC (Sound Transmission Class) measures sound isolation-how well a wall stops sound from passing through it. NRC (Noise Reduction Coefficient) measures sound absorption-how well a material absorbs sound inside the room. You need both: high STC for privacy/isolation and appropriate NRC for internal clarity.
Can egg cartons help with acoustics?
Not really. Egg cartons are too thin and light to absorb significant amounts of sound, especially low frequencies. They may slightly diffuse very high frequencies, but they do little to improve room response. Invest in proper porous absorbers or bass traps instead.
Should I carpet my entire studio?
Avoid full carpeting in the control room unless necessary for noise reduction. Carpet absorbs high frequencies, which can make the room sound dull and dark. It also reflects low frequencies, potentially worsening bass issues. A rug under the desk area is usually sufficient to dampen floor reflections without killing the room's sparkle.
How far should speakers be from the wall?
Ideally, place speakers close to the front wall (within 6-12 inches) to utilize boundary reinforcement, which boosts bass smoothly. However, ensure you have bass traps behind them to control the resulting buildup. Moving speakers away from the wall reduces boundary boost but increases room mode complexity. Experimentation is key, but starting close is often easier to manage with proper treatment.